
How to adjust the bicycle hydraulic disc brake
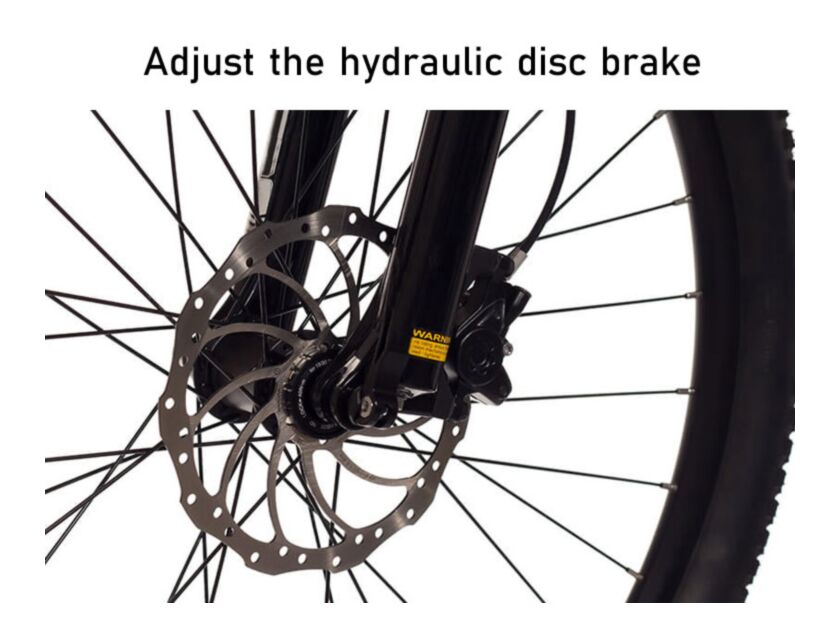
How to Adjust the hydraulic Disc Brake
We showed you how to adjust the bicycle mechanical disc brake before. Here we will offer you some tips on how to adjust the hydraulic disc brakes. ( about the difference between mechanical disc brake and hydraulic disc brake, please refer to Mechanical disc brake vs hydraulic disc brake.
Basic knowledge of the bicycle hydraulic disc brake.
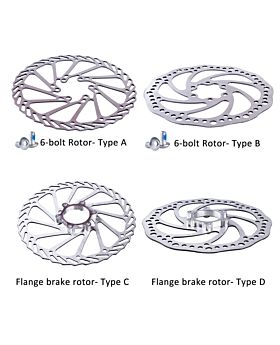
Parts: Rotor, Caliper, Brake pads, Oil tube
Screws:

1,2- mounting bolts.
3,4- adjusting bolts, for adjusting the distances between the rotor and both sides.
5- brake pads bolts, for mounting and adjusting the brake pads.
6- brake fluid bleed port.
7- compression fixing bolts that seal and hold the brake housing into the lever and caliper.
How do the hydraulic disc brakes work?


Generally, hydraulic disc brakes have two brake pad move to apply pressure to the rotor. When squeezing the brake lever, the oil or brake fluid is compressed to apply the press to disc brake pads so the disc rotor is squeezed between the two pads.
Following are the details of the hydraulic disc brake working.

See from the above picture, the timing porthole(E) let the brake fluid flow freely into the reservoir (B- which holds the expansion bladder) through the port (G) when not engaged. As the lever moves the push rod into the master cylinder, the holes are moved past the primary seal (F) to close the system between the seal and the caliper, which forces fluid to push the pads toward the rotor. Other items on the FSA brakes are the bleed port (A), stroke adjusts bezel (D) and reach adjust bezel (C).
Adjusting steps:
Step 1: Place the bike on the bike stand.
Step 2: Check the brake lever. It should be positioned horizontally to the handlebar, in a position that is easy for your squeezing.
Step 3: Check the brake calipers. Loosening the caliper adjusting bolts 3, 4 to align the brake caliper, keep the rotor stands in the center of both brake pads. If it is not aligned, it may lead to drag or sometimes a howl or a rubbing sound. Tighten up the caliper adjusting bolts but don't torque down the bolts at this step.
Step4: Spin the wheel and then squeeze the brake lever. Try these for several times to ensure the brake function is good. Keep squeezing the brake lever and tighten the adjusting bolts 3, 4.
Step 5: Spin the wheel listen for brake pads dragging on the rotor and watch if the rotor stands in the center of the two brake pads or not. If you hear any rubbing, see which pad is dragging on the rotor.
Step 6: After stopping the wheel, loosen one adjusting bolt and gently push the brake pads where it needs to be with your thumb. Once the rotor is centered, tighten the bolt.
Step 7: Repeat this process Step 4 - 6 until drag is eliminated.

Sign In
Create New Account